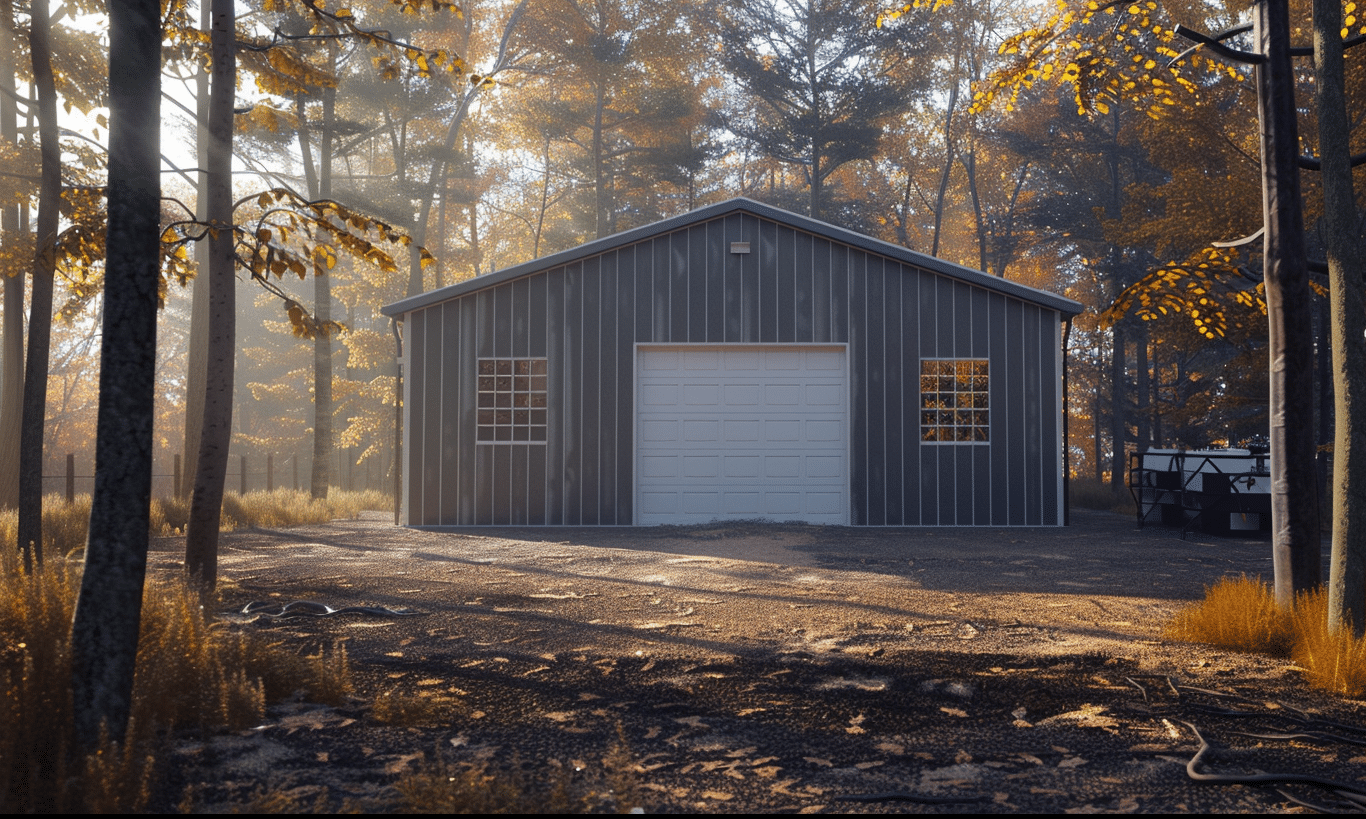
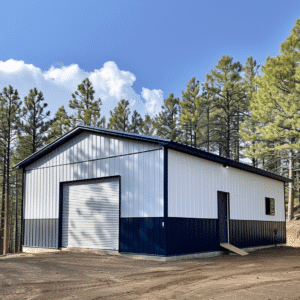
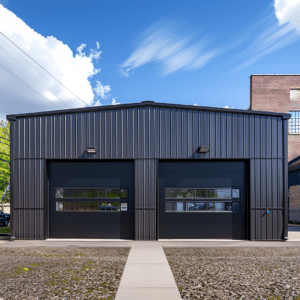
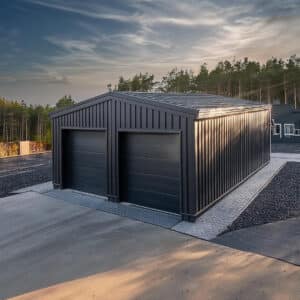
Adding electricity and plumbing to your garage kit might initially seem like a daunting task, but with a little preparation and some guiding knowledge, you can transform your simple metal car shelter into a multifunctional space. Whether you’re considering setting up a compact workspace in a 16×20 garage package or looking to establish a larger hobby haven with a 30×30 garage package, these utilities are essential upgrades for both function and comfort.
Planning Your Garage Kit Utilities
Before diving into the installation process, it’s crucial to map out your needs and resources. Do you need ample lighting for late-night crafting sessions? Or perhaps additional outlets for powering tools and gadgets? Meanwhile, running a water line could open possibilities for a workstation sink or even basic bathroom facilities. Identifying your requirements upfront will help streamline the installation process and avoid any future headaches.
Understanding Local Building Codes and Permits
Every addition to your garage kit, including utilities, must comply with local building codes. This ensures your safety and prevents potential fines. Acquire the necessary permits before starting any construction work, and always consult with professionals when in doubt. Both electrical and plumbing installations can be complex, but with the right guidance, your project can proceed smoothly.
Budgeting for Utility Installations
Adding electricity and plumbing can be an investment. Your budget will need to account for materials, professional labor if required, and any unforeseen expenses. Prioritize your needs and consider phased installations if cost is a concern. For example, begin with electrical wiring before tackling plumbing, if this better suits your financial plan.

Installing Electrical Wiring in Your Garage Kit
Choosing the Right Wiring and Fixtures
Your choice of wiring should match the intended use of the space. Standard lighting and outlets typically require 14- or 12-gauge wire. However, larger appliances, like air compressors, may need heavier cable. Consult an electrician to determine your electrical load requirements and select the appropriate circuit breakers.
Consider energy-efficient fixtures and devices to reduce your long-term energy costs sustainably. Good lighting is crucial, so opt for LED lights or ENERGY STAR-certified fixtures wherever possible.
Running the Electrical Conduit
Running electrical conduit involves setting up protective piping for wiring. This is especially useful for weatherproofing garage kits against the harsh Canadian weather. Start by marking out where the outlets and fixtures will go. Then, mount junction boxes on walls or ceilings. Electrical conduit should be securely attached to ensure stability.
Adding Plumbing to Your Garage Kit
Laying the Foundation with Water Supply and Drainage
Plumbing generally involves two main components: the water supply and drainage. Success hinges on proper planning—determine the best route for pipes while ensuring easy access for future maintenance.
Install a water line from your main source, and follow with dispersing pipes. Use PVC or PEX pipes for their durability and easy installation. Your drainage system will need a well-planned slope to facilitate the free flow of wastewater, avoiding plumbing nightmares later.
Fixtures and Fittings
Installing fixtures like sinks or toilets will require securing them to a stable platform. Using water-efficient fixtures might also offer rebates on your utility bills and lessen your environmental impact. Connect the water and drainage lines tightly, ensuring they comply with local safety standards.
Testing and Final Checks
Before closing walls or laying floors, test everything! This means double-checking electrical connections and running water through pipes to spot leaks. It’s easier and cheaper to address issues before the finishing touches are in place.
Unique Challenges and Problem Solving
Adapting to the Ontario Climate
For those installing metal garage kits Ontario residents might face unique climate considerations. Precautions against frost and freezing temperatures are necessary for both electrical and plumbing installations. Adding insulation around plumbing pipes and conduits can help prevent damage.
Compensating with Modern Solutions
Modern technology offers innovative solutions that could simplify your project. Wireless lighting can replace complex wiring in hard-to-reach areas, while hose systems may provide more flexibility than traditional plumbing setups. Reference resources like Better Homes & Gardens to explore such creative alternatives.
Final Thoughts on Garage Kit Utilities
By understanding your needs, adhering to regulations, thoughtfully budgeting, and testing your utilities comprehensively, you can turn your compact steel shelter into an electrified, plumbed powerhouse of productivity. Color your installation with creativity, adaptability, and innovation—transforming it from a mild retreat into a bold, functional extension of your home.

As you undertake this exciting venture, the utility additions to your garage kit will enrich its functionality tenfold. Whether as a dedicated workspace or an accessible home extension, your newly equipped garage will undoubtedly serve you for years to come, providing comfort, convenience, and the satisfaction of a job well done.


