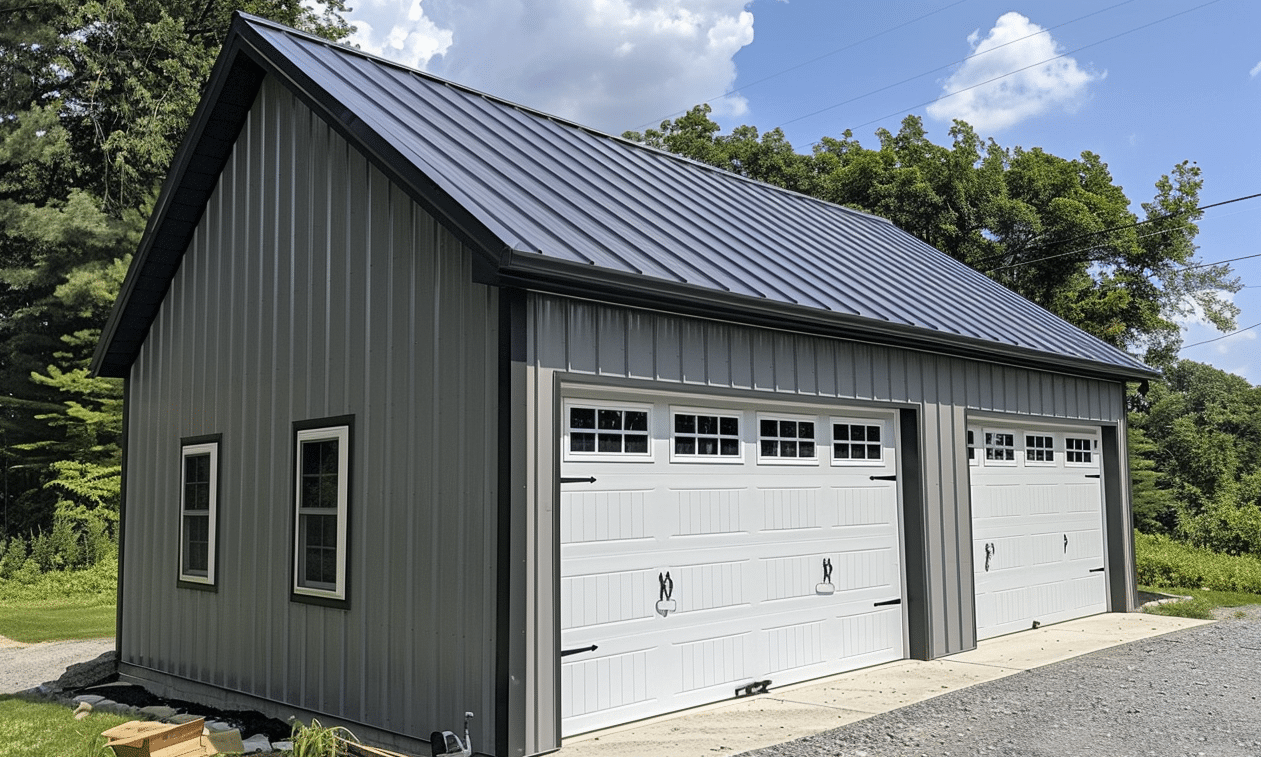
When it comes to transforming your backyard into a functional and organized space, there’s nothing quite like assembling a garage kit. Imagine having a dedicated area to store your vehicles, tools, and other essentials – all in the comfort of your own property. However, the prospect of assembling a garage kit might seem like an intimidating endeavor. Fear not! We’ve crafted this comprehensive step-by-step guide to streamline the process, ensuring that your assembly journey is as smooth as the last piece of a puzzle fitting into place.
Why Choose a Garage Kit?
Before diving into the nuts and bolts of the process, let’s address the burning question: Why a garage kit? Kits offer several advantages, such as cost-effectiveness, flexibility in design, and ease of installation. Whether you’re a seasoned DIY enthusiast or a weekend warrior, these kits are designed to cater to all skill levels. Additionally, garage kits come in various sizes, including the ever-popular 16×20 garage package, allowing you to choose one that perfectly matches your spatial and storage needs.
1. Planning Your Build
As with any significant project, meticulous planning is crucial. Start by determining the garage size you require, keeping in mind both current and future needs. Consider the different purposes your new structure will serve. Will it be a straightforward storage space, or perhaps a creative hub for your hobbies? Learn about various Hobbyist Garage Kits to tailor the build to your interests.
Selecting the location for your garage is equally important. Choose an area that offers easy access and complies with local zoning ordinances. As you sketch out the design, envision how your garage will look nestled on your property – an extension of your home.
2. Gathering Tools and Materials
Now that you’ve mapped out your strategy, it’s time to gather your tools and materials. Most garage kits come with detailed instructions and pre-cut components, but don’t forget the essentials:
– Safety gear (gloves, goggles, etc.)
– Measuring tape
– Leveling tool
– Power drill
– Wrench set
– Ladder
By ensuring all necessary tools are at hand, you’ll avoid frustrating interruptions later on.
3. Preparing the Foundation
A house is only as strong as its foundation, and the same principle applies to your garage. Begin by clearing the designated area and leveling the ground if necessary. Depending on your climate and soil conditions, you may need a concrete slab or gravel base to ensure stability. Investing time and effort into a robust foundation will significantly enhance the longevity of your structure.
4. Assembling the Frame
With your foundation set, it’s time to roll up your sleeves and dive into the heart of the assembly process – framing. Assemble the metal or timber frame according to the instructions provided in your kit. Double-check everything and secure all joints, just as in the art of Tetris where each block must align perfectly.
Here’s an exclusive view of a work-in-progress garage, illustrating the beauty of a metal frame standing tall:

Securing Roof Trusses and Panels
Once the frame is up, you’ll maneuver the roof trusses into position. This step can be rather challenging, so an extra pair of hands is invaluable. Following that, carefully secure the roof panels, ensuring there’s no overlap, to prevent leaks. If you’re using a kit like the acclaimed metal garages, the interlocking panels should snap together like magic, delivering both practicality and aesthetics.
5. Installing Doors and Windows
What’s a garage without its trademark doors and inviting windows? Carefully follow the installation instructions to position the doors and windows, guaranteeing your new structure is both secure and well-ventilated. If you’re after a modern touch, consider doors with glass inserts which allow natural light to spill in during the day.
6. Adding Finishing Touches
With the heavy lifting complete, it’s time to focus on those finishing touches that make all the difference! Perhaps you wish to paint the exterior to match your home’s aesthetic or add shelving units for efficient organization. Whatever your desires, remember to factor in time for these final embellishments, personalizing your abode to truly reflect you.
Join the men discovering the psychological benefits of a personalized space, as discussed in Men’s Health.
7. Inspecting and Finalizing
Like proofreading an artfully penned chapter, a meticulous inspection of your fully assembled garage kit is essential. Check that all components are secure, doors and windows operate smoothly, and there are no structural inconsistencies. The peace of mind that comes after knowing everything checks out will allow you to sit back, relax, and enjoy the fruits of your labor.
Conclusion: Reap the Benefits of Your Efforts
Congratulations – you’ve successfully navigated the intricate yet rewarding process of assembling a garage kit! In addition to gaining a new functional space, you’ve likely honed your DIY skills and perhaps even nurtured newfound confidence in larger building projects. Whether you’re based in Ontario and exploring local options for Ontario garage packages or anywhere else, garage kits offer versatility, durability, and a sense of accomplishment that lasts a lifetime.
If this journey has sparked interest in more elements of DIY construction, your new garage can serve as a launchpad for personal hobbies or even ventures into exhilarating new projects. Here’s to your newly assembled haven – a stage for innovation and cherished memories.


