—
Ever taken a look at a beautifully painted masterpiece of a building and wondered, “How do professionals achieve such a flawless finish?” Achieving that smooth, velvety finish isn’t just about slapping on a coat of paint and calling it a day. It’s all about using the right painting techniques and honing the skills necessary for a professional result. Whether you’re working on custom building projects or looking to revamp garage buildings, understanding the nuances of painting techniques can be the difference between a stunning outcome and a, let’s say, less than impressive finish.
Preparing for Success: The Foundation of Professional Painting
When it comes to painting, preparation is key. Imagine trying to build a house on a shaky foundation. Much like how a strong foundation is crucial for any construction, a well-prepared surface sets the stage for a successful paint job. So, what does preparation entail?
Before you even dip your brush in paint, ensure the surface is clean, dry, and free from dust and cracks. This includes sanding surfaces to remove imperfections and filling in cracks with appropriate fillers. A clean, smooth canvas not only allows for a seamless application but also ensures that the paint adheres better, providing durability and longevity.
**Never underestimate the power of a good primer.** Primer acts as a base, balancing out the surface and ensuring the paint sticks effectively.
In your journey to achieve that professional look, understanding common pitfalls is crucial. To guide you along, be sure to check out this resource on DIY painting mistakes to avoid compromising your hard work.
Brush vs. Roller: Choosing Your Weapon
Much like an artist choosing between different brushes for varying strokes, choosing the right tool is vital in painting. Brushes and rollers each have their unique benefits, and understanding when and how to use them can make a world of difference.
– **Brushes:** Ideal for corners, edges, and smaller areas that require precision. They’re perfect for intricate work and allow for more control but can be time-consuming for larger areas.
– **Rollers:** Great for covering large spaces quickly and delivering a more uniform finish. Rollers vary in size and nap (the thickness of their material), so selecting the correct one based on your project’s requirements is crucial.
Utilizing both tools wisely can give you a refined and polished result. Sometimes, combining the two—using a brush for corners and edges and a roller for walls—can create that professional-looking finish you’re aiming for.
Understanding the Techniques: Mastering the Craft
When it comes to technique, the jazz is in the details and understanding the right strokes.
**The W Pattern:** This classic technique is a favorite among pros. Using a roller, you essentially create a ‘W’ that’s about three feet wide. Without lifting the roller too much, fill in the empty spaces inside your ‘W.’ This method ensures even distribution and minimizes overlapping marks while cutting down on time.
**Feathering:** For a truly seamless finish, especially when working with a brush, ‘feathering’ comes into play. This involves light, gentle strokes that overlap the wet edges, creating a fade-out effect that blends each section smoothly with the next.
**Wet on Wet:** Timing can be everything. The wet-on-wet technique is about maintaining a wet edge throughout your application, preventing overlapping marks that dry differently and show up as streaks or patches.
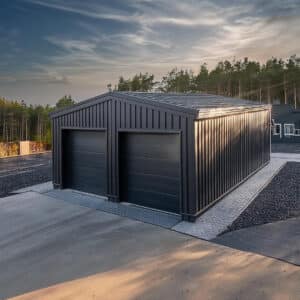
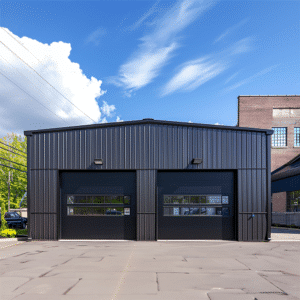
Want to turn an ordinary steel building into a visual masterpiece with paint? Whether it’s for your personal garage or other custom building projects, mastering these techniques is invaluable.
Creating the Perfect Atmosphere: Paint in the Right Conditions
Just like a play requires good lighting, painting necessitates the right conditions. Temperature and humidity levels significantly affect how paint dries and adheres.
**Ideal Temperature:** Most paints perform best between 10°C and 30°C. Avoid extreme temperatures because too much heat can cause the paint to dry too fast, while too cold might lead to poor adhesion.
**Humidity Control:** High humidity can slow down drying times drastically, which might result in a tacky finish. On the opposite end, very low humidity can cause cracking.
Moreover, while safety should always come first, it’s important to remember that protective gear, ventilation, and adequate lighting can immensely improve your painting results.
For additional painting tips and ensuring you have the right conditions and techniques lined up, check out Dulux Canada – Painting Tips.
Finishing Touches: Sealing the Deal
Once you’ve achieved the perfect coat, finishing things off with a sealant can enhance durability and longevity, especially for exterior projects. Sealants come in various finishes—matte, satin, and glossy—perhaps think of them like the cherry on top of your painting sundae.
**For a Professional-Sheen:** Glossy finishes enhance colors vibrantly but might show more imperfections, while matte offers a muted look that can hide certain flaws.
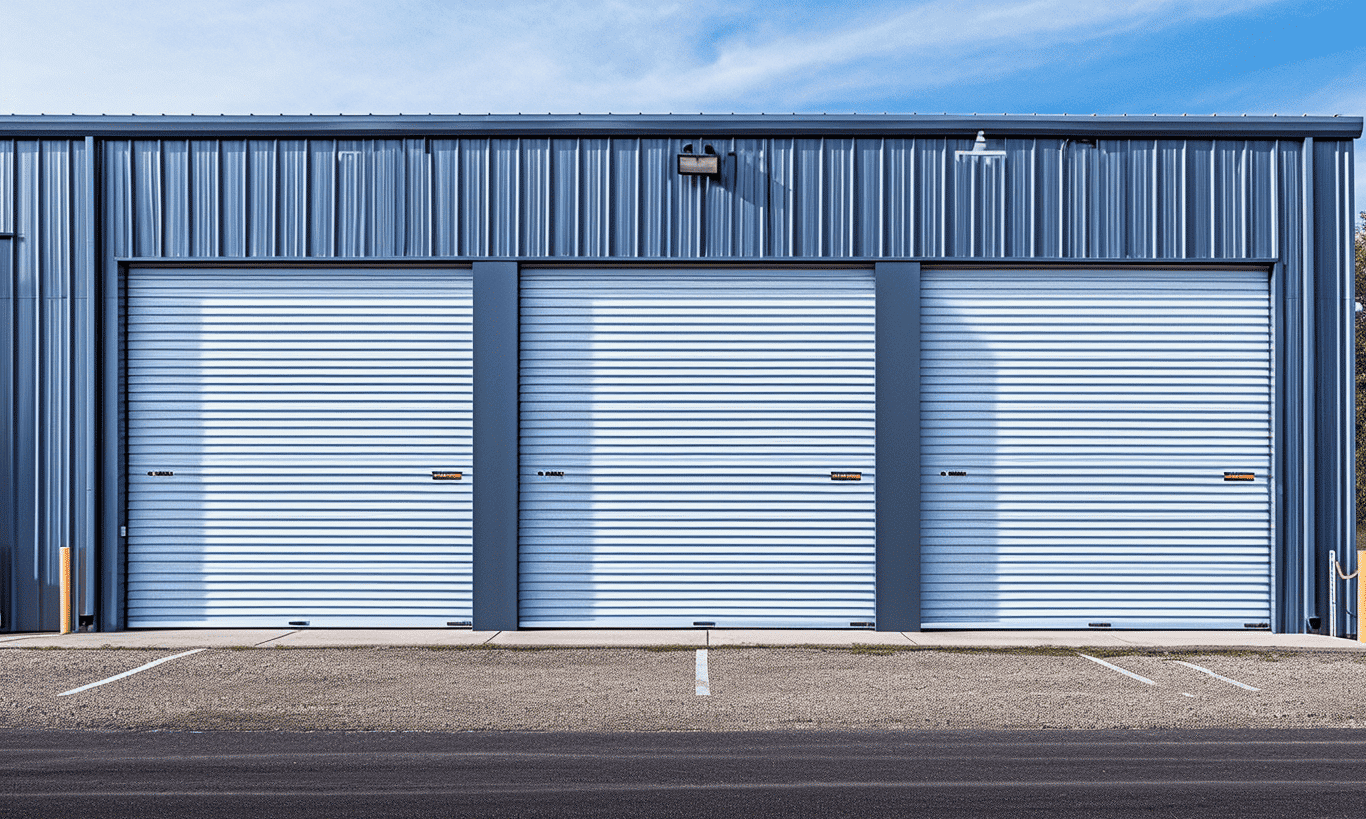
Remember, whether you’re reevaluating your steel garage buildings or updating older structures, a well-sealed job protects against wear, weather, and time.
Time to Grab Your Brushes!
Stepping into the world of professional painting may seem daunting at first glance. Like mastering a musical instrument or perfecting a dish, it requires patience, practice, and the right techniques. The payoff—a marvel of a finished product that turns heads—will make every stroke, every technique worth it.
And when you’re ready for creative extensions within your space, maybe consider integrating some creative DIY shelving ideas to complement your freshly painted walls!
Incorporating professional painting techniques into your projects can transform ordinary spaces into extraordinary steel sanctuaries. With these insights, you’re well on your way to painting like a pro—so grab that brush and bring your vision to life!
—


