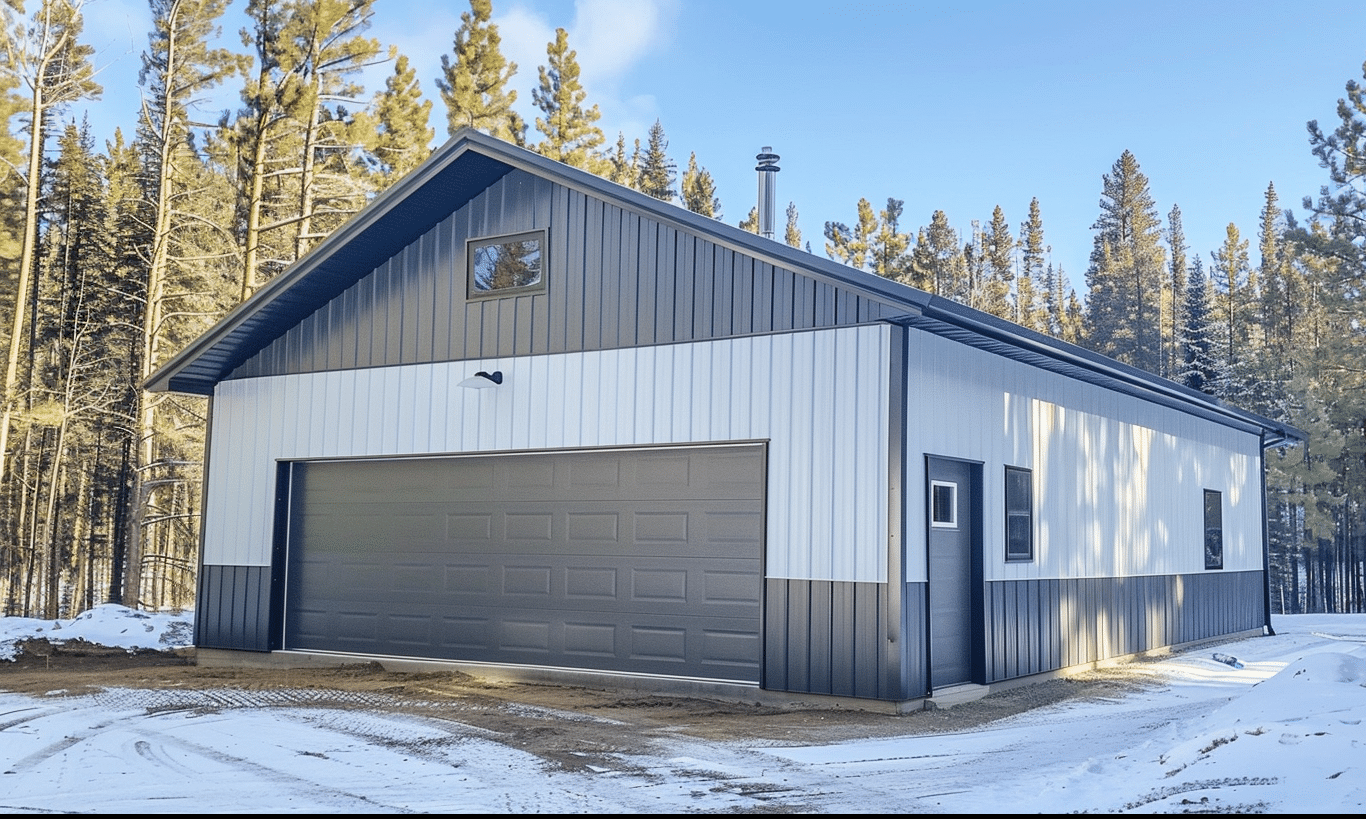
If you have invested in a garage kit, ensuring it’s well-insulated can take it to the next level of functionality. Insulating your garage adds comfort and energy efficiency, making it a space usable year-round. Let’s explore how to add insulation to your garage kit and understand the benefits of doing it correctly.
Why Insulation Matters for Your Garage Kit
Insulation isn’t just for keeping the cold out and the heat in; it plays a pivotal role in regulating the temperature inside your garage throughout the year. Proper insulation can:
– Reduce energy costs by maintaining a stable interior temperature.
– Minimize noise levels, both from inside to outside and vice versa.
– Prevent moisture build-up, which can lead to mold and mildew growth.
– Improve the overall functionality and comfort of the garage, making it suitable for various uses—from a workshop to an extended living space.
But before we dive into the steps of insulating your garage, it’s essential to understand the different types of garage kits available. If you’re still contemplating which type of garage kit to choose, this comparison of Wood vs. Metal Garage Kits may help you decide.
Choosing the Right Insulation Material
When it comes to insulating your garage, choosing the right material is critical. The common insulation types include:
Fiberglass Insulation
Fiberglass is the most common insulation type due to its cost-effectiveness and proven efficiency. It usually comes in rolls or batts and fits well between wall studs.
Foam Board Insulation
Foam board insulation offers a higher R-value per inch compared to fiberglass and is excellent for garage walls and doors. It’s durable and moisture-resistant, making it ideal in areas with high humidity.
Spray Foam Insulation
Spray foam provides superior air sealing and insulation properties, perfect for small crevices and complex shapes. However, it tends to be more expensive than other types.
Steps to Insulate Your Garage Kit
To get started, you’ll need some basic tools: a utility knife, measuring tape, staple gun, and your chosen insulation material.
Step 1: Assess Your Needs and Prepare
Before purchasing materials, measure your garage’s surface area. Note areas of distinct concern, such as doors, windows, and any other gaps where air might leak. A well-assessed plan will ensure you buy sufficient materials.
Step 2: Install Insulation in Walls
1. **Measure and Cut Insulation**: Cut the insulation to fit the height of your walls.
2. **Fit Insulation Between Studs**: Place the insulation between the studs, ensuring a snug fit. For fiberglass rolls, unroll and press them into place.
3. **Staple in Place**: Use a staple gun to secure the insulation batts to the wall studs.
4. **Cover with Vapor Barrier**: Install a vapor barrier using plastic sheeting to prevent moisture issues.

Step 3: Insulate Garage Ceiling
Ceiling insulation is as crucial as wall insulation. Use the same steps as above, ensuring the insulation fits snugly between ceiling joists. This helps in maintaining a stable temperature and preventing heat from escaping.
Step 4: Insulate Garage Door
Garages often lose substantial heat through the door. Foam boards are a good choice for this task.
1. **Measure Door Panels**: Use a tape measure to get accurate dimensions of your garage door panels.
2. **Cut Foam Boards**: Cut foam boards to fit these measurements.
3. **Attach Foam Boards**: Use adhesive or double-sided tape to stick the foam boards onto the door panels.
4. **Seal Gaps**: Ensure all edges are sealed to prevent airflow.

Cost Estimation and ROI
The cost of insulating your garage will largely depend on the materials you choose. Fiberglass tends to be the most affordable, while spray foam is on the pricier side but offers excellent long-term benefits.
For example, a 12×20 garage package may require different budgeting compared to a larger 20×24 garage package. However, investing in insulation will pay off through improved comfort and energy efficiency.
Maintaining Insulated Garages
Maintenance is key to the longevity of your insulation. Regularly check for:
– Gaps or holes in the insulation.
– Signs of moisture or mold.
– Any sections where insulation might have settled or sagged.
Addressing these issues promptly will ensure the efficiency and durability of your insulation.

Conclusion
Adding insulation to your garage kit is a straightforward process that can significantly enhance the comfort and efficiency of your space. With the right materials and a bit of effort, you can transform your garage into a year-round usable space that is energy-efficient and comfortable.
Whether you’ve chosen a 12×20 garage package or a larger 20×24 garage package, proper insulation will always provide a great return on investment. For more home design inspirations, check out HGTV Canada (Exterior Design).
Enjoy your newly insulated, more functional, and energy-efficient garage!


